Showing posts with label cookie bars. Show all posts

Thursday, August 20, 2015

Food Friday - After School Snacks

from Kris B.


We all remember those days of getting home from school and rushing to the kitchen because we were starved.  A cookie or two and a glass of milk and then it was off to do homework while mom fixed dinner.  

School lunch schedules never seem to take into account the body's normal hunger patterns.  Lunch often happens way too early in the day, making for extremely long afternoons!  Even as an adult, I still get home from school in the afternoon's hungry.  The problem is that it is nearly 5:00 at that point and I am the one who has to fix dinner!  I often find myself say, "I'll just have a little something to eat before I start cooking."  Well, that often turns into more than "a little something" and by the time dinner is ready, I don't really want it.  This is a terribly bad cycle!

These Peanut Butter Snack Bites are just enough to curb the appetite and take the hunger edge away before fixing dinner.  They have some protein, carbohydrates, fruit, and some sweetness to boost what is for me the inevitable afternoon slump.  And, rather than the childhood favorite of an accompanying glass of milk, it is an afternoon cup of coffee.  Another dose of caffeine helps with the much needed pick-me-up as well.  These may not be the absolute healthiest afternoon snack, but they certainly aren't the worst, either!

INGREDIENTS

2 TBS butter
2/3 Cup natural peanut butter
1/4 Cup powdered sugar
3 TBS honey
1/2 tsp vanilla
1 1/2 Cups Rice Krispies
1 Cup quick cooking oats
*1/4 Cup mini chocolate chips
*1/4 raisins
1/4 Cup finely chopped, lightly salted peanuts


This recipe makes me thankful for my 1980's Tupperware measuring spoon set that has 1/4  and 1/3 measures.  Normally I don't like recipes that require every measuring device that I own, but because you have to work sort of quickly as far as mixing the ingredients, pre-measuring and lining up all of the ingredients works best here.

You probably all know this, but in case you don't, here is a tip that is helpful when using a couple of these ingredients.  To ens ure that you get the full measure of the honey and peanut butter, or any other ingredient that may stick to the sides of the measuring cup, coat the measuring cup or spoon with a light coating of cooking spray.  This allows the "clingy" ingredients to slide right out and none is lost or wasted by sticking.

Melt the butter in a medium saucepan.  Remove it from the heat and stir in the peanut butter, powdered sugar, honey, and vanilla.  Once these are well-mixed add the Rice Krispies and the oatmeal.  

Let the mixture cool completely and then add the raisins and the chocolate chips.


* Because nothing is simple at my house, I make two batches of these - one with only chocolate chips, and one with only raisins, using 1/2 cup of each.  Though I like chocolate covered raisins alone, I really don't care for chocolate and raisins in my cookies.  So I opt for just the chocolate.  Big surprise.  LOL!  My husband also like chocolate covered raisins, but doesn't want chocolate in his cookies, so his batch is made with only raisins.  Because these are so simple to make, doing it twice is no big deal.

Once cooled, shape the mixture into balls.  I use a small cookie scoop to maintain uniformity of size.  Roll each ball in the chopped peanuts.  


Makes about 24 balls.

Store in the refrigerator.

As an aside, Tracey and I often discuss when and how we are shooting these blog photos.  As you may have noticed, the lighting in my kitchen is TERRIBLE!  Tracey has said the same thing about hers as well.  We all know how important good light is to good photos.  We all also know that bad food photos are some of the worst bad photography there is!  These two things make shooting the photos for these posts super challenging for me.  It is forcing me to better my photography skills...at least I am hoping they are improving a little bit.  We remodeled our kitchen a few years ago, before i was addicted to photography, land long before I thought that I would ever engage in food photography.  If I had known then what I know now, I would have designed the kitchen layout to maximize the light for photos rather than for ease of cooking. LOL.  Hindsight is always 20/20!


 by Tracey G


These are one of my favorite treats - a snack that I think works for any time of day, they're not too sweet and nicely tangy and lemony - which for me works anytime. So, as an after-school snack, they're perfect! Maybe not a whole lot of nutritional value, lol, but they sure do taste good and make you smile - and that can be very important after a long day at school, in any grade or any level, whether student, teacher or parent! :-)

I've searched for years for one that I like, last one I had tasted too "eggy" to me, the lemon kind of got lost in all the egginess of the flavor. So, after a bit of searching around, I found this recipe, and with a few tweaks that made it mine and to get it just the way I liked it and wanted it, this is the result, and I couldn't be happier. And apparently neither could Harry because he's been eating way more of these than he ever did of the old recipe! :-D And they are so easy! I actually had everything on hand - usually there's a couple ingredients I need to pick up for whatever treat I'm making, but not this one. Had everything I needed and it came together quickly, longest parts were taking the photos and the cooling time before the dusting of powdered sugar and eating! LOL
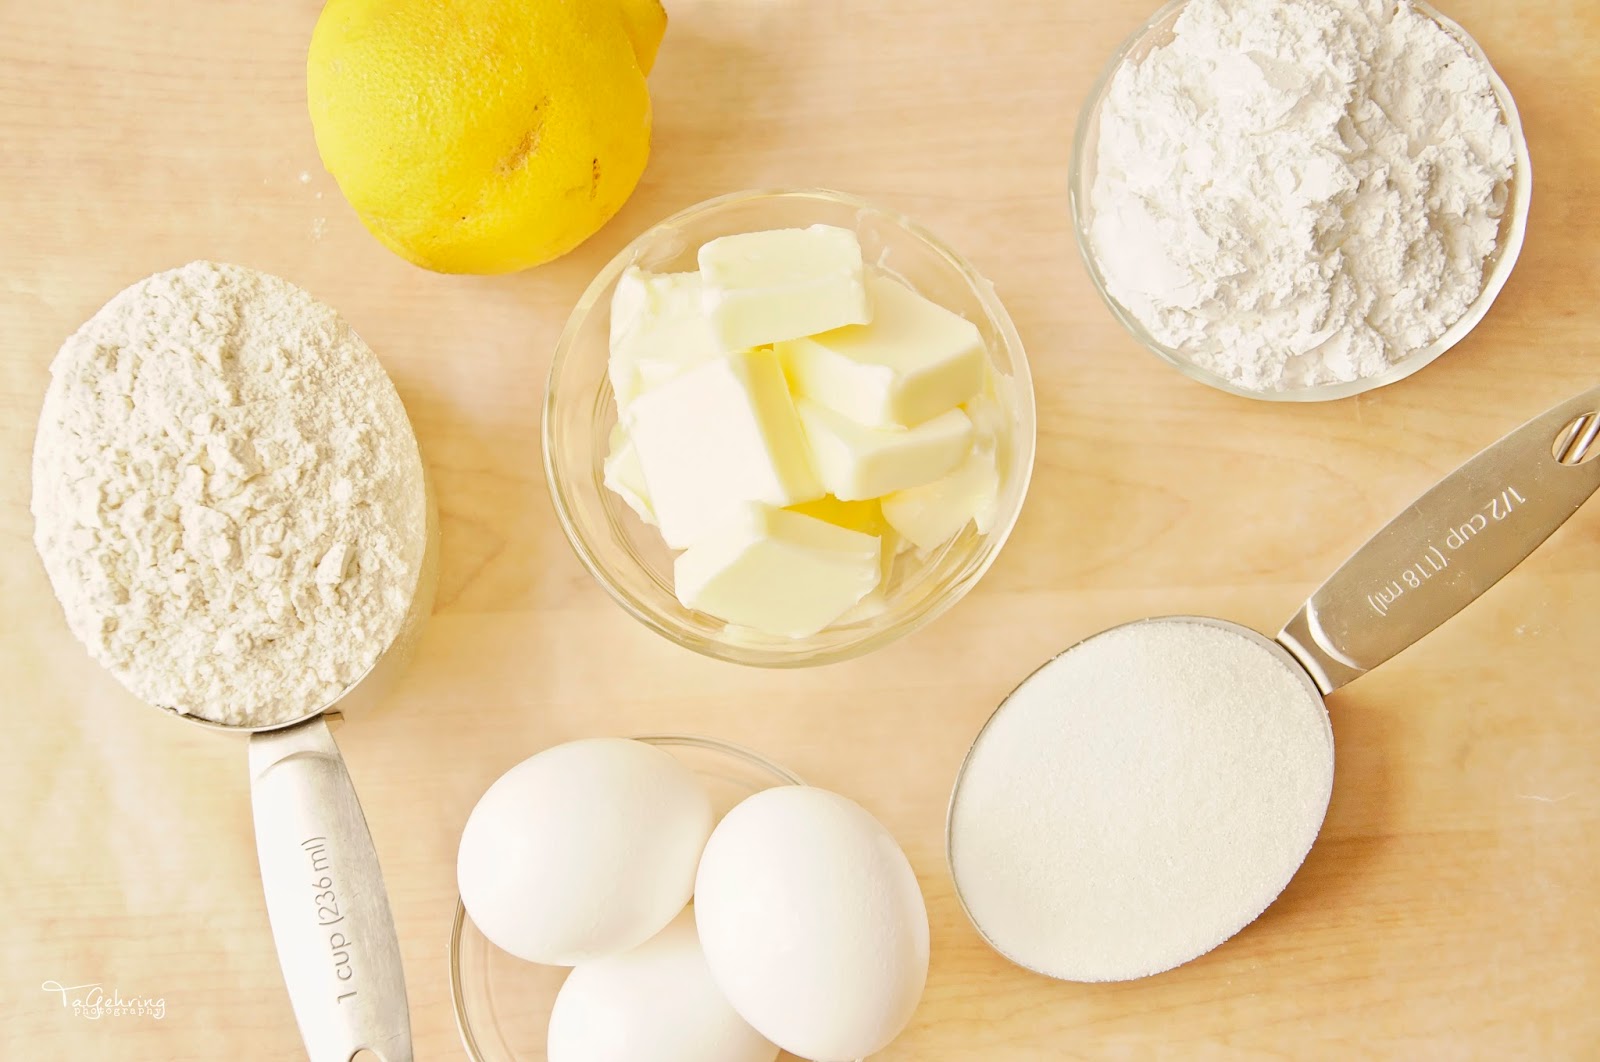
I actually got every ingredient  this time in the photo! LOL The players in this recipe are: flour, lemon juice and zest, powdered sugar, granulated sugar, eggs and butter. That's it. Pretty simple and even if I don't have fresh lemons on hand, which I pretty much always do, but I could even make it with bottled lemon juice and skip the zest. Not that I'd want to, but hey, if a craving hit - anything's in play and fair to use! ;-) 

Preheat the oven to 350°. In a bowl, beat the butter and powdered sugar...

...until smooth and well combined.

Gradually add in the flour until a soft dough forms. Press the dough in the bottom of a greased 9x13" baking pan. Bake 18-20 minutes or until lightly browned. 

Pour the egg mixture over the hot crust.

Bake 20-25 minutes or until lightly browned and lemon mixture is set. Cool completely on a wire rack, then dust with additional powdered sugar. Cut into squares and store the leftovers in the refrigerator - if there are any, lol.


Lovely Lemon Bars


3/4 c butter, softened
2/3 c powdered sugar
1 1/2 c + 3 tbsp all-purpose flour, divided
3 eggs
1 1/4 c sugar
1/3 c lemon juice
zest from one lemon (or more if you prefer!)
additional powdered sugar for dusting

 1) Preheat oven to 350°. In a large bowl, beat butter and powdered sugar until well blended and smooth. Gradually add in 1-1/2 cups flour. Press into the bottom of a greased 9x13 inch baking pan. Bake 18-20 minutes or until crust is golden brown.

2) Meanwhile, in a small to medium sized bowl, whisk eggs, granulated sugar, flour, lemon juice and lemon zest until frothy. Pour over hot crust.

3) Bake 20-25 minutes or until lightly browned and lemon mixture is set. Cool completely on wire rack, dust with additional powdered sugar. Cut into squares. Yield is about 4 dozen. 


Friday, July 10, 2015

Food Friday - Hitting' the Bars!

from Kris B.

In the adapted words of Robert Burns, "The best laid plans of mice and men (or women) may often go awry..."  And did they ever for me this week!   Knowing that we were leaving on Wednesday fro a nearly two week vacation, I told Tracey that I would get my post for today done before we left.  And, I almost did, sort of.  Here is where the plans went awry...

I decided that I would make an old recipe of my mom's for a dessert bar that she called "Hello Dollies."  I have no idea why they have that name.  My choice for  making these was two-fold: 1.  They are good and easy so would not take a great deal of time away from my vacation preparations and 2. We would have a treat to pack and bring along with us.  It seemed like a win-win situation.

I did make the Hello Dollies early in the week and got all of the photos taken.  Literally at the eleventh hour before we were to leave, I was packing them in a to-go container and realized that we did not have room for it in our carry-on luggage, so I ditched the idea of bringing them along.  The only picture that I had not taken at this point was the final plated photo.  I had thought that I would shoot that once we got to North Carolina.  So, I quickly took a few shots with my phone.  I had all the shots I had taken earlier in the day.  I was good to go, even if that last photo wasn't the greatest.

At 35,000 feet somewhere between Dallas and Charlotte, I realized that I had left the SD card with all of the photos that I needed in my computer at home.  The last thing I did the night before we left was take a picture of the final item to be packed, my camera.  And then I took the card out and uploaded that photo.  I had gotten two new SD cards for the trip, so I didn't worry about putting the "used" card back in my bag. And my phone shots are TERRIBLE!   So here I am with no food photos for today's recipe.  LOL!

I will, however, share the recipe.

HELLO DOLLIES (an old recipe from my mom)

11 stick butter
 Cup crushed saltine crackers (about 25 crackers)
1 Cup shredded coconut
1 Cup chocolate chips
1 Cup chopped pecans
1 can sweetened condensed milk

Preheat oven to 350 degrees.

Melt the butter in a 9x13 glass baking dish.  Mix in the crushed crackers and spread evenly along the bottom to make a "crust."  Layer the coconut, then the chocolate chips, and finally the pecans, evenly on the only over cracker mixture.  Pour the entire can of sweetened condensed milk evenly over the top.  Bake for 30 minutes.  

Allow the bars to cool completely and then cut into 1 inch squares.  Refrigerating the pan will make it easier to cut the bars.

Cheers!


by Tracey G


There's a funny story connected to the first time I ever made these bars, lol, well, it is to me anyway, lol. It was back in early 2000's I think, and I'd made this recipe for a fundraiser. The fundraiser was for a local man, who was also a local businessman and friend, not close friend, but in a small town like mine, everyone knows everyone, lol. He'd been diagnosed with some kind of health issue, so the community set up a few things for fundraising to take place on a Saturday at the local pub/restaurant that everyone went to for fun in the evenings and it was the hopping place during the business day for lunch :-) So, I'd found this recipe and thought it sounded like a perfect bake sale kind of thing. The night before, I made a batch and put them in these really nice foil tins and left them on the kitchen island as they would be dropped off the next morning before the bake sale began.

At this time my mom lived with me, I'd moved her in a few years before as it was just more financially feasible for all of us - it was a win-win kind of thing, and she was so busy and active in the local Eagles club and the daytime bartender there, she was never home. Was more like having a teenager around than my mom, lol. Anyway, I got up Saturday morning, the day of the bake sale, and find that the tins had been rifled through. Apparently my mom saw treats and helped herself, lol. I was so mad (at the time, now it's funny, lol)! I can't remember now just what she'd taken, but I know it was enough that I had to go out, buy more ingredients and make another batch in a hurry, because I had to have them there by like noon or something. I get the next batch made, and while they were still warm, I put them in more tins and got them to the bake sale. One of my dearest friends was then an owner of the place, and worked there too, so it was her I delivered them to. I dropped them off, and then went back home to get ready to go back for the fundraising festivities. When I get back there, my friend tells me they never made it to the bake sale table - the employees bought them on the spot when I brought them in since they were still warm, lol. They had my mom to thank for that ;-) Ah good times, good times, lol.

So, every time I make a batch of these, I am reminded of that day ;-)

They're really easy to make too, and that makes me happy, I'm always all in for something easy to make!

The ingredient list is easy, and I think I remembered to get them all into the shot this time! Yay me! LOL It's simple stuff: oatmeal, flour, brown sugar, vegetable shortening, chocolate chips, butterscotch chips, vanilla, molasses, eggs, baking soda and salt. The only things I don't always have around, and needed to pick up for the recipe, are the molasses and the butterscotch chips. The butterscotch chips are a recipe modification I made - just a couple handfuls and it really added something to it. :-)

The first thing you do, is beat the brown sugar and shortening until light and fluffy. I'll admit, every time I make these, I wonder if that will happen, as in the very first stages of mixing, that looks like an impossible feat, lol. But as you can see, it does happen! :-) While that's doing it's thing, getting fluffy and all, I take that time to grease my 9x13" pan.

Next step is to mix in the dry ingredients. I dumped the brown sugar/shortening mixture into a bit of  a larger bowl as I knew that my mixer bowl was not going to be quite big enough to mix in everything neatly, lol. And it's a snap to stir in the flour, oatmeal (I combine the oatmeal, flour, salt and baking soda in a bowl beforehand for easy mixing), salt, baking soda and baking chips.

Once everything is mixed together thoroughly, spread it in the pan evenly. 


Bake at 350° F for 20-25 minutes or until the middle is set. I think it took 35 minutes for me today. You can cool them slightly and cut into bars, or you can let them cool completely. They're pretty gooey when they come out, which is good too, lol, and they set up more the longer they sit. And that's it :-) They are simple and yummy and I consider them "healthy" since there's oatmeal - well, that's what I tell myself anyway, lol. ;-)


Oatmeal Chocolate Chip Bars

makes approximately 48 bars

 1 1/2 c firmly packed brown sugar
1 c shortening
2 tbsp molasses
2 tsp vanilla
2 eggs
3 c quick cooking rolled oats
1 c flour
1 tsp baking soda
1 tsp salt
3/4 c chopped nuts (optional)
1 12 oz. package chocolate chips
butterscotch chips, about 2 handfuls (approximately half a 12 oz package)

1) Grease either a 9x13" pan or 15x10x1" pan.

2) In a large bowl, beat brown sugar and shortening until light and fluffy. Add molasses, vanilla and eggs; blend well.

3) Stir in oats, flour, baking soda and salt; blend well. Stir in nuts, chocolate chips and butterscotch chips.


4) Spread in greased pan. Bake 20-25 min or until light golden brown and center is set. Cool slightly. Cut into bars. Serve warm or cool.